Ogre Macrotures
Macrotures are miniatures. . . BIG miniatures! They're 1/60 scale . . . which makes them compatible with 15 and 28mm figures. They can be painted as individual display models, or used for a convention game. You've haven't seen how dramatic a miniatures battle can be until you've fought it out in this super-sized scale. You'll need a BIG floor . . . or take it outside. And be ready for spectators.

The GEV Macroture in Action!

The Galahad Macroture, an Ogre Mk. V, and a Galahad 1/285 figure.

Closeup of Turret Detail
The turret of the Galahad.

Aft Details
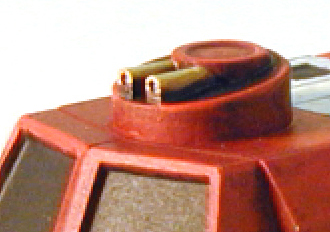
A close-up of the aft of the Galahad.

Turbine Details
A close-up of the turbines.

Hull, labeled (A)
The hull of the Macroture is resin, and hollow.

Components, starting at the top, and labeled: Turret (B), Side guns x2 (C), Nose gun (D), left stand and right stand (E and F) next to each other, detailed side up, Turbines (G).
These components are all metal.

Paneuropean Galahad GEV


GEV Macroture with scale, from the top

GEV Macroture with scale, from side

GEV Macroture with scale, from the corner

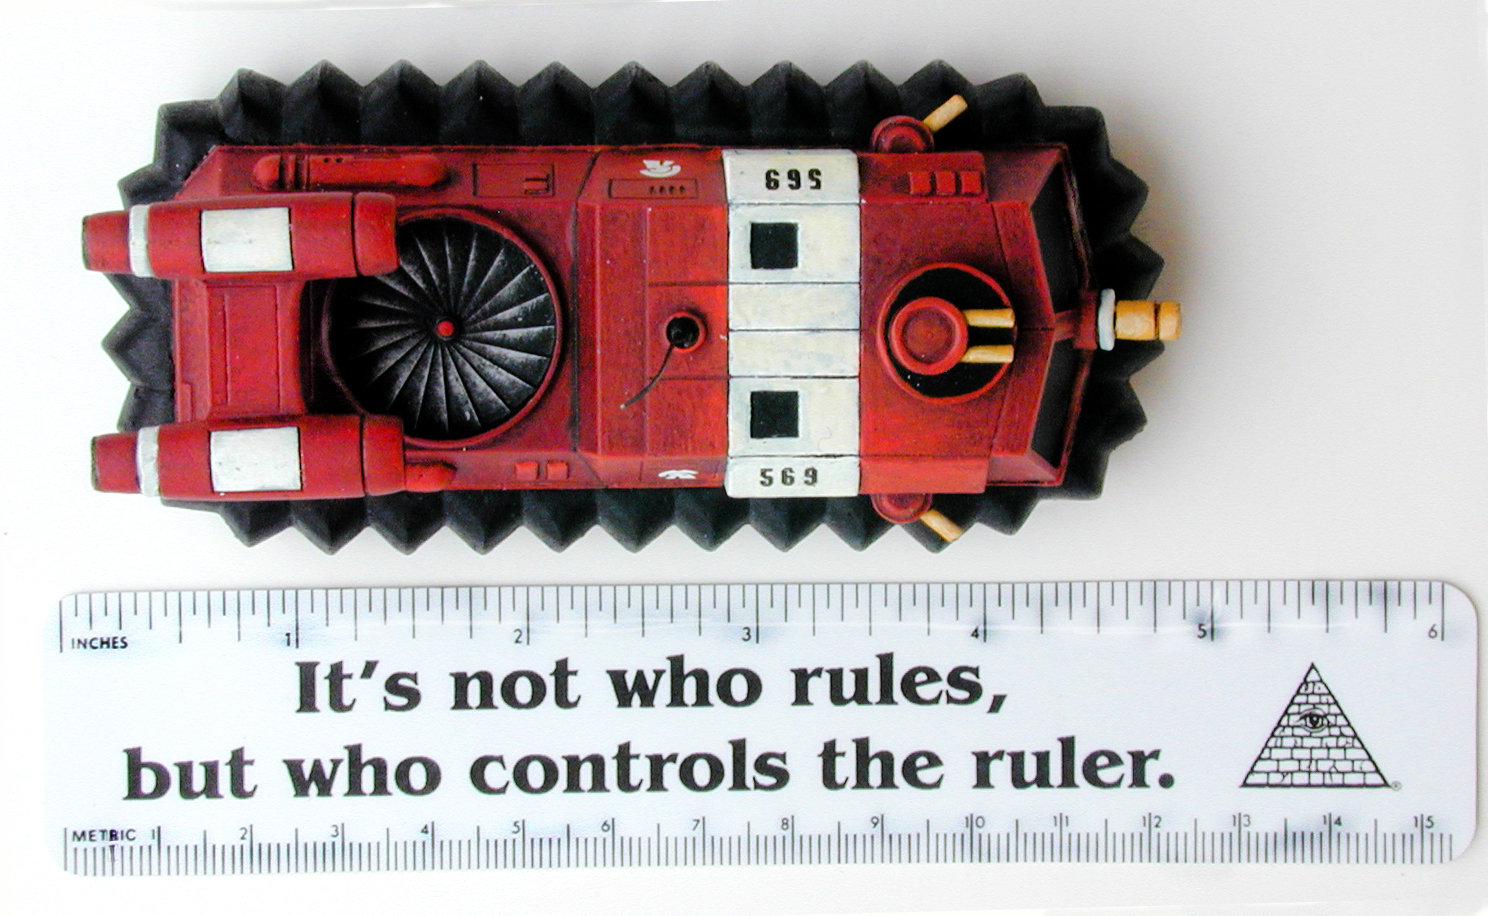
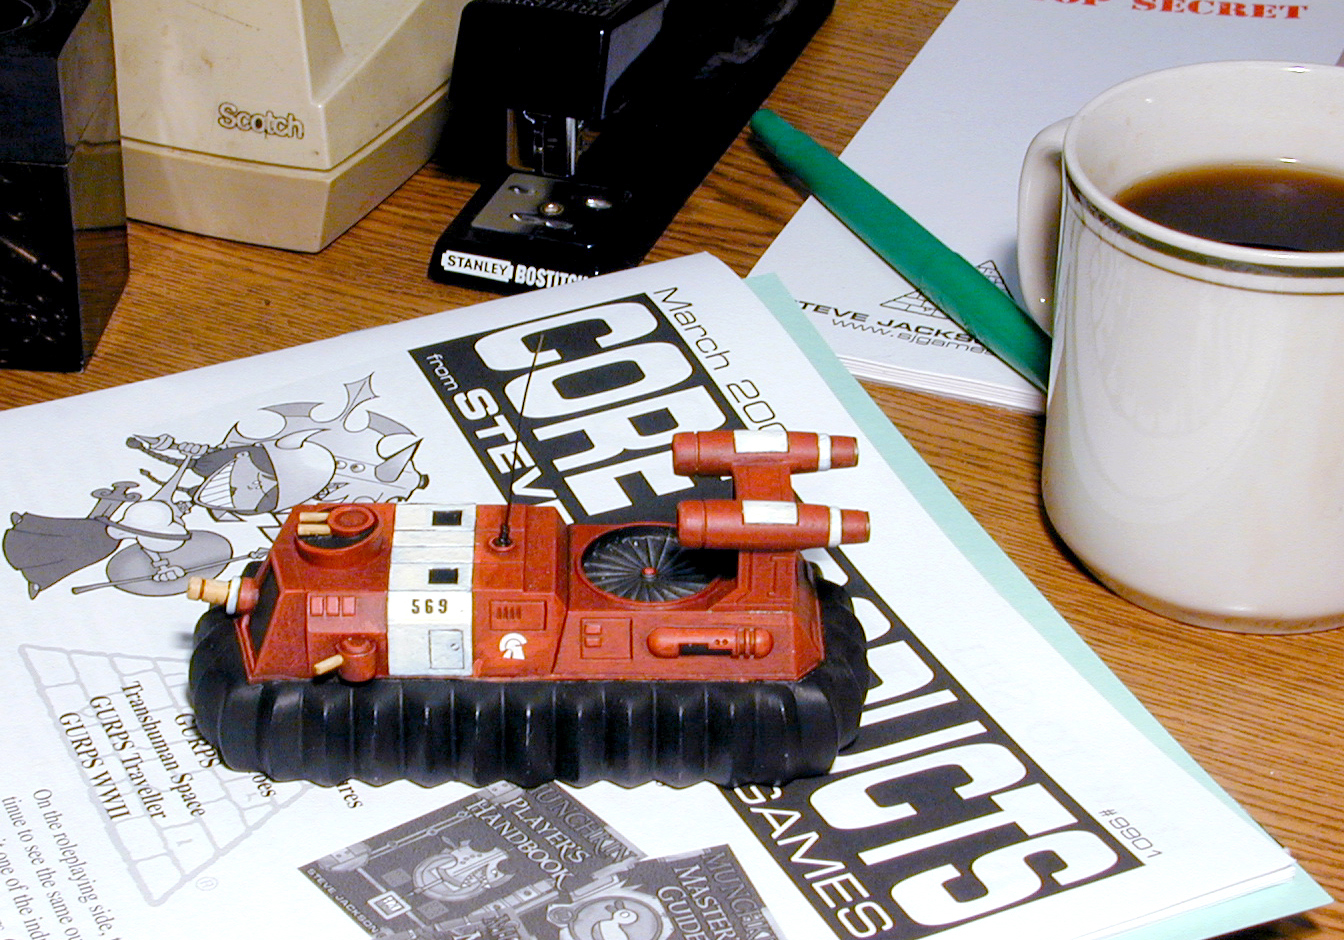
The Galahad, our first Macroture, is over 4 inches long and stands 2 1/2 inches tall -- and it's one of the small ones!

The Galahad GEV is the mainstay of the Paneuropean army. Its speed and maneuverability have earned it a place in nearly every battle of the Last War. It is only fitting that the workhorse of the Ogre world is the first official Macroture.

This figure was sculpted by Philip Miller, based on the 1/285 scale model designed by Winchell Chung, sculpted by Randy Hoffa, and modified by Dave Summers.

Richard Kerr painted the images here.

The Galahad GEV Macroture is only available through Warehouse 23.

Retail price $20.00
Stock number 10-6001

Resources

  • Visit the main Ogre page for scenarios, articles, and news.
  • Warehouse 23 carries all things Ogre -- paints, miniatures, rules, and much more!
  • Looking for discussions of Ogre? Yahoo has several active groups covering both the board game and miniatures. A great resource for both newbies and grognards.

GEV Macroture with figures
The Galahad Macroture with 28mm figures.

Assembly

Working with a model this big makes assembly fairly easy, but we thought we'd share a few tips here.

The first step is identifying the parts. Looking at the image to the left, the pieces are:

  • (A) Hull
  • (B) Turret
  • (C) Side Guns
  • (D) Nose Gun
  • (E) Left Stand
  • (F) Right Stand
  • (G) Turbines

[image of the hull, with arrows and labels indicating the fore, the aft, the turret socket, and the two pairs of sockets for the stands]

The hull is easy to identify -- it is the largest piece, and it's hollow.

The hull is also resin, which makes it possible to cast a piece this size. However, the same safety precautions one would take when dealing with a piece of pewter apply to resin -- wash the piece thoroughly before working with it; don't breathe, eat, or drink the shavings; and don't put it where children (or anyone too young to understand the dangers) might get access.

The fore of the hull is the taller section, with windows on the front facing. The top of the hull has five sockets. The largest, and farthest forward, socket holds the turret. The two pairs in the rear hold the stands. The front of the hull has a single socket, to hold the nose gun. The right and left sides each have a single hollow for the side guns.

[image of the turret, viewed from the top down, with an arrow pointing parallel to the guns, labeled

Orienting the pieces is easy for the most part. The turret's guns face forward,

[image of the nose gun pin and the socket on the front of the hull]

the nose gun can only be attached in one way,

[image of the side guns, with the barrel sticking out on the upper part of the piece, and an arrow pointing to the top labeled

and the side guns look best if the barrels are on the top.

[image of the two stands, side by side, pointed to the sides of the frame, detailed sides up.]

The stands, however, can sometimes be tricky. If viewed from the side, they look something like a boot. When attaching to the hull, make sure the "toe" is pointed forward.

[image of turbines, arrow pointing to the wide end, labeled

The turbines are oriented by pointing the widest end forward.

Assembling the Galahad is simple . . . just glue each piece into the appropriate socket. No cutting is required, although some filing may be necessary to smooth the occasional rough surface.

[image of side gun and side gun alcove, with arrow] [image of nose gun and socket on front of hull, with arrow]

A dot of glue will hold the side gun (left) and the nose gun (right) in place.

[image of bottom of turret and socket on top of hull, with arrow]

We recommend the turret on top be left unglued, to allow it to rotate.

[image of bottom of turbine and stand, with arrow]

The turbines are slightly trickier. Attach the stands to the turbines first, fitting the narrow end into the slots on the underside of the turbines, and keeping the "toe" pointed the same direction as the wide end of the turbines.

[image of turbine/stands subassembly and the top aft of the hull, with arrow]

The turbine assembly can then be glued to the aft sockets on the top of the hull.


Miniatures